> For the complete documentation index, see [llms.txt](https://docs.heypoplar.com/llms.txt). Markdown versions of documentation pages are available by appending `.md` to page URLs; this page is available as [Markdown](https://docs.heypoplar.com/integrations/supported-platforms/zapier.md).
# Zapier
## Supported Platforms
Zapier allows you to link hundreds of different web services with the Poplar API through the [**Poplar Zapier App**](https://zapier.com/apps/poplar/integrations). They support easy access to hundreds of CRMs, marketing tools and even Google Forms and Spreadsheets.
| ActiveCampaign | Hubspot | Infusionsoft | Magento |
| -------------- | ---------- | ------------ | --------- |
| Attentive | ConvertKit | Highrise | Mixpanel |
| BigCommerce | Drip.io | Mailchimp | Lytics |
| ReCharge | Salesforce | Zoho | Hightouch |
*& hundreds* [more...](https://zapier.com/developer/public-invite/19115/02eea18be71cab21b688d1a6a05c9d52/)
***
## Step 1: Make a Zap
Log into your Zapier account and from your dashboard, click **MAKE A ZAP** to begin the new trigger setup.
***
## Step 2: App & Trigger Event
Give your Zap a name related to its use case, then select the marketing automation or cloud platform that has the audience or segmentation data you'd like to send to Poplar.
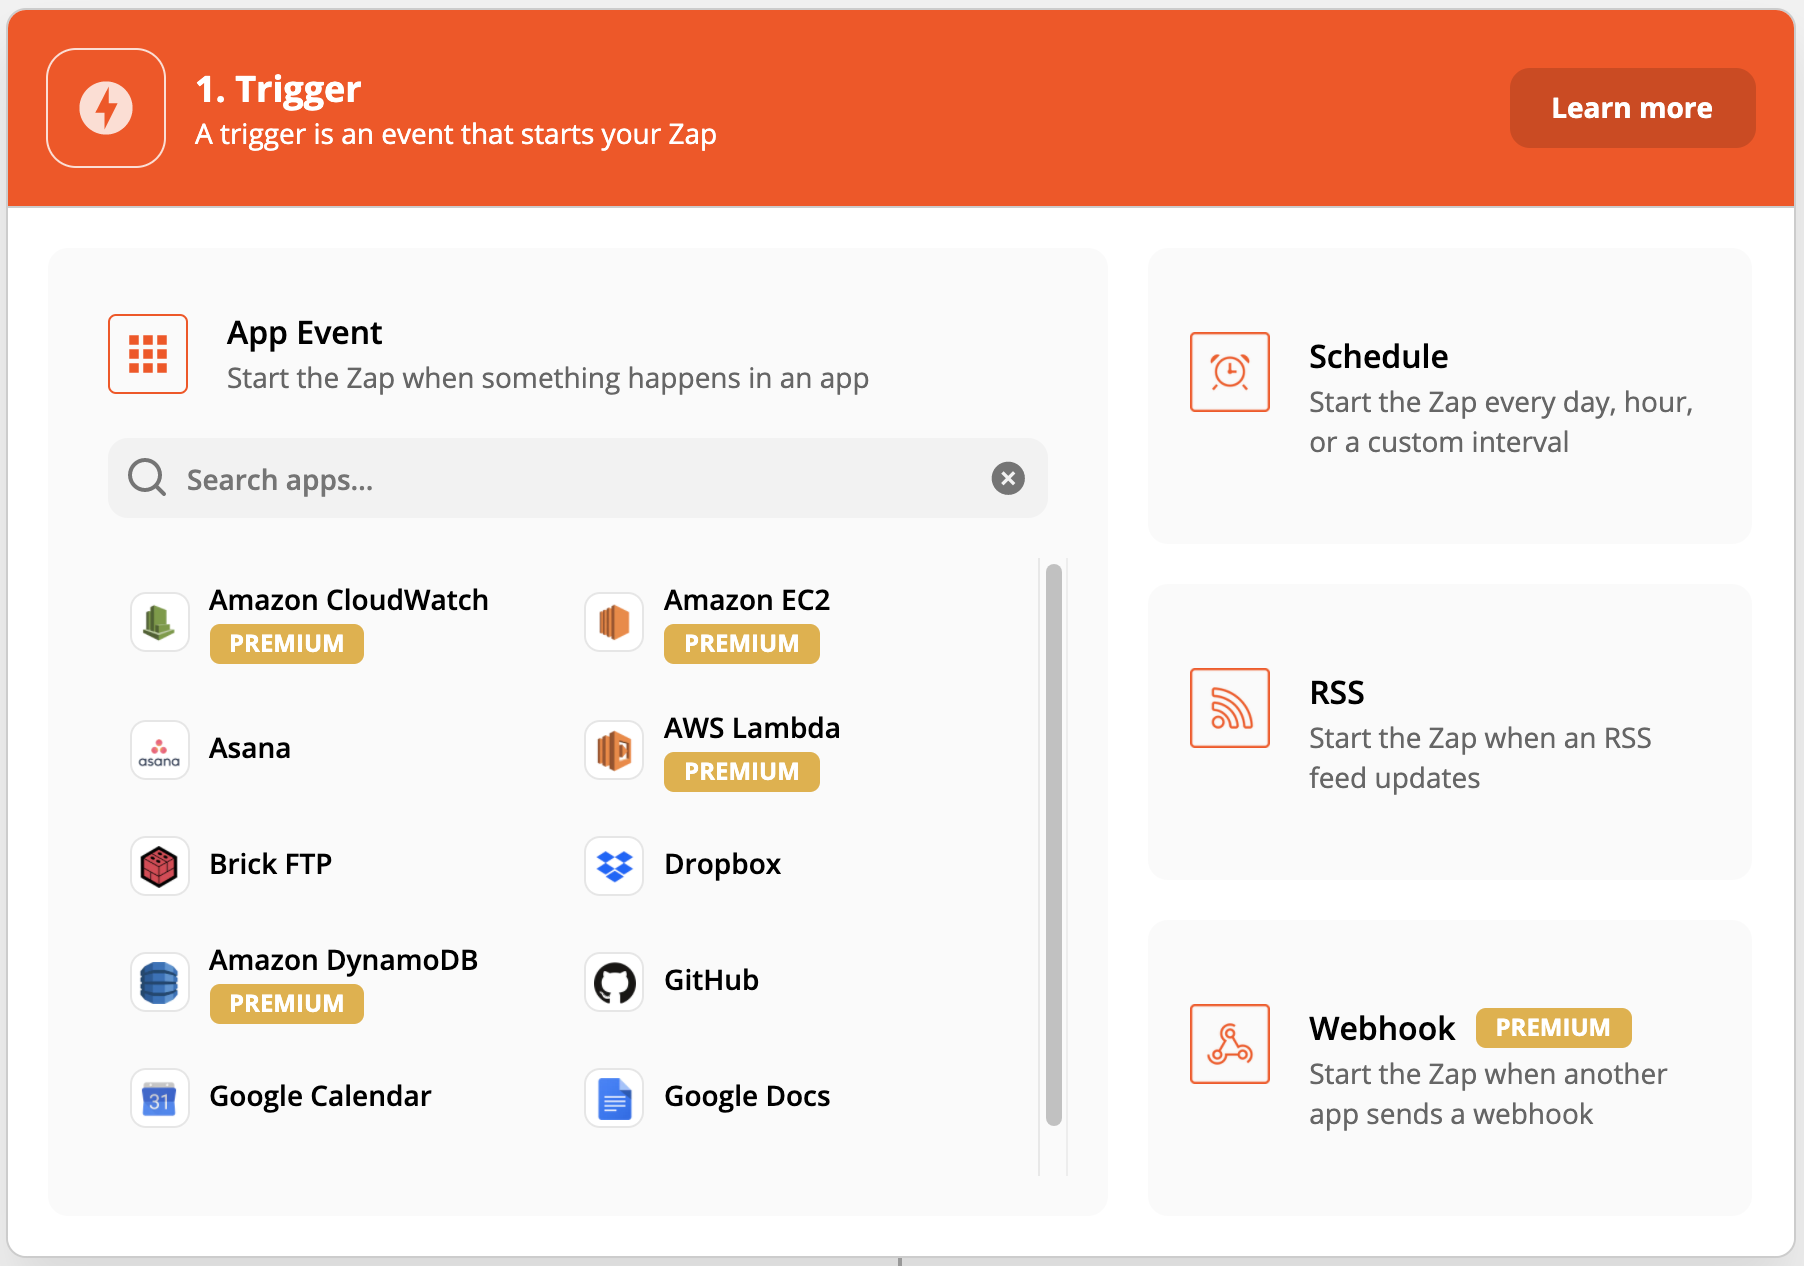
Next you'll be prompted to choose the trigger event you'd like to use to send data to Poplar. Connect to your chosen account to access your data and set up the trigger. **Test your trigger to make sure your account is connected and all the necessary data can be pulled.**
***
## Step 3: Action
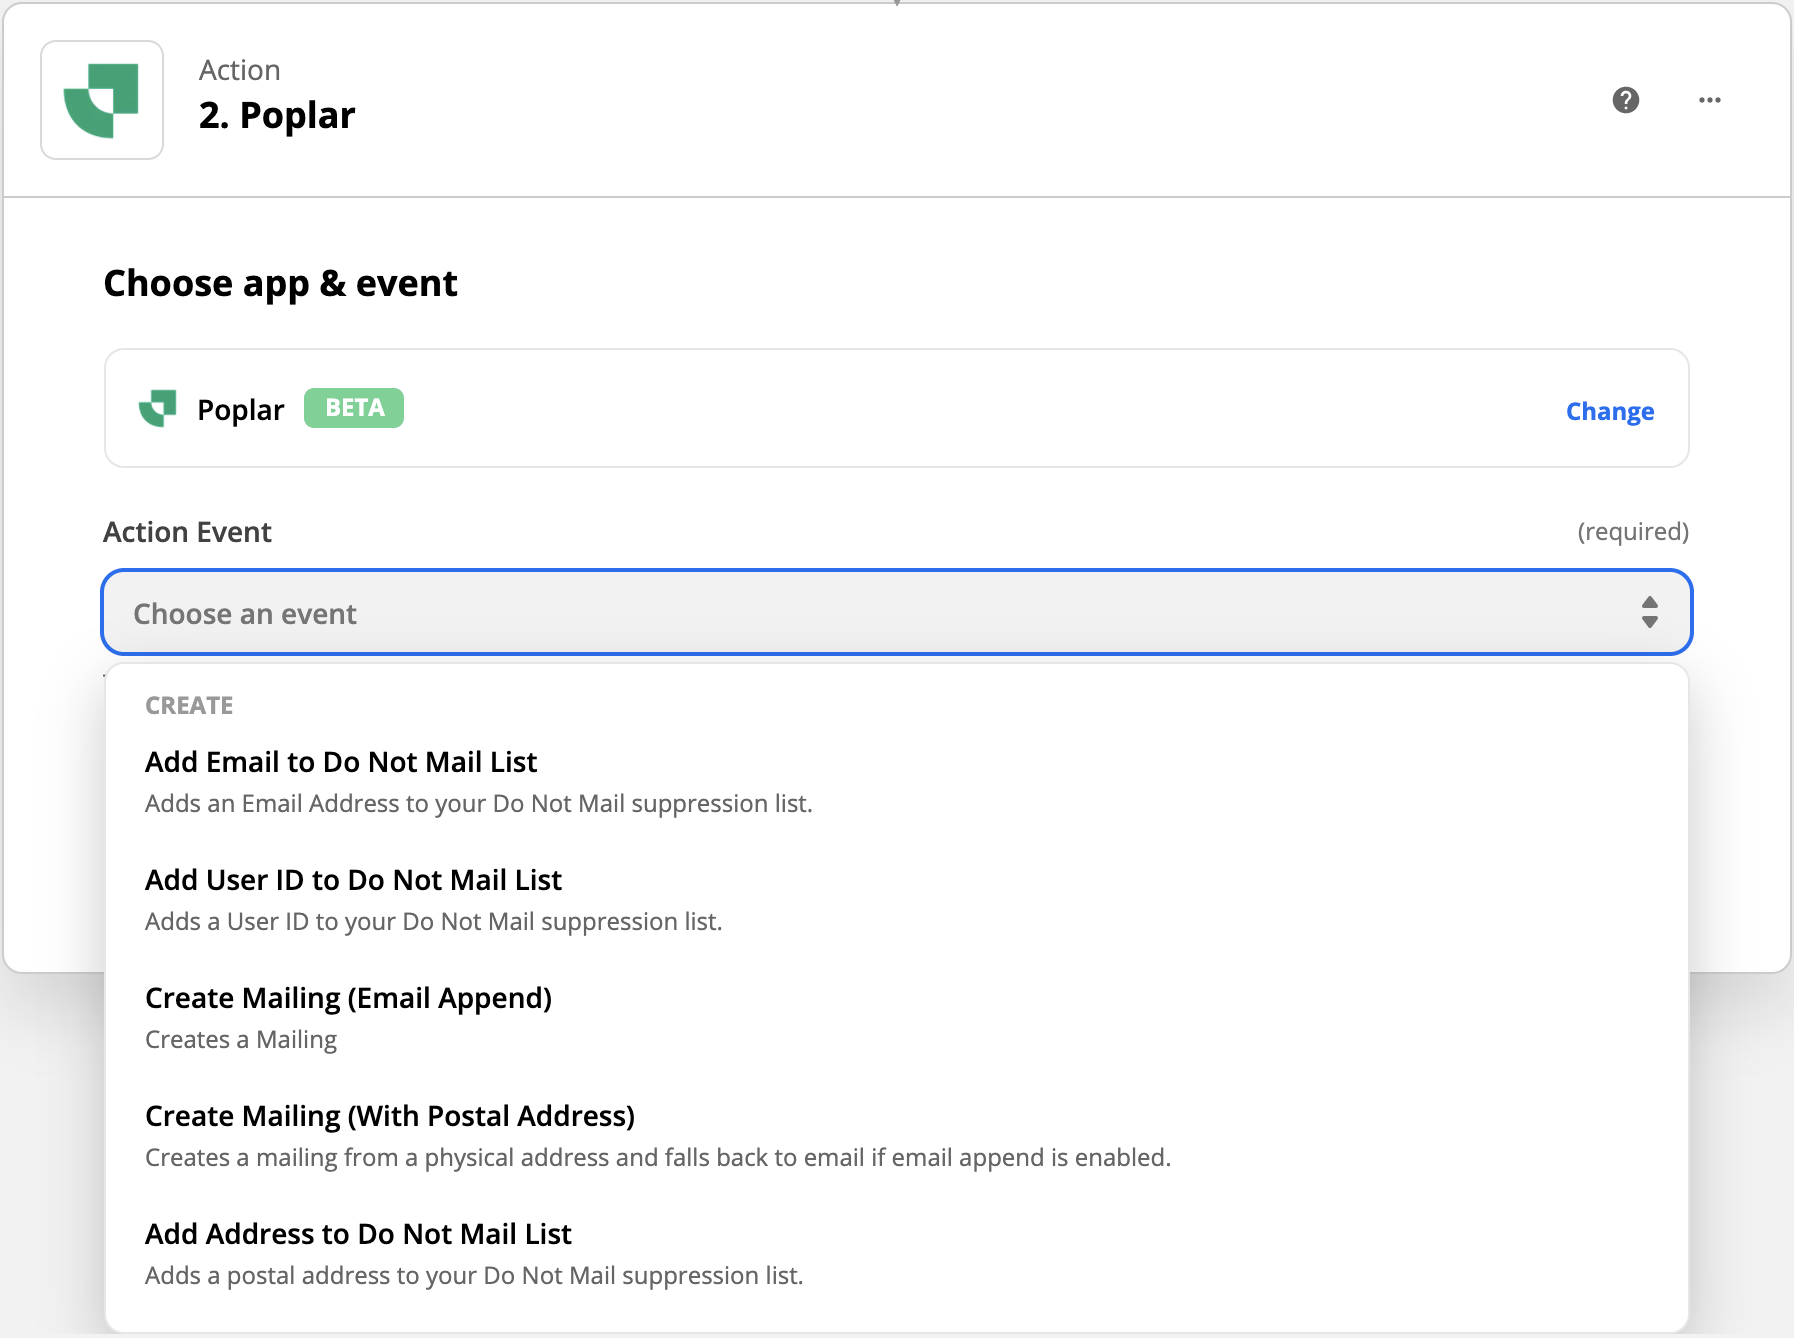
Search for and select the [**Poplar (BETA) App**](https://zapier.com/apps/poplar/integrations) to use as your action; the destination where you'll be sending your data.
As pictured above, there are a number of different actions to choose from in addition to creating a mailing. Choose the action that best suits your needs, then click Continue to connect your Poplar account.
***
## Step 4: Connect Your Poplar Account
To connect your account, you'll be prompted to enter an **Access Token** which can be found on the [**API**](https://app.heypoplar.com/credentials) page of your Poplar account.
**We recommend first entering your Test key, this will allow you to test the trigger connection without actually mailing. Successful trigger requests will be visible from the History tab of the connected campaign.**
Click **+ Connect a new account** again to enter your **Production** key. We recommend only selecting this account when you're ready to go live.
If using your Production account, clicking **Test Trigger** during will trigger a live mailer.
***
## Step 5: Set Up Action
With your Poplar account connected, you'll be prompted to select the required criteria for your trigger, and map the data you'd like to send to the required fields.
Next, you'll want to either **Test & Review** or **Test & Continue**. Submitting this test should successfully pass your data to Poplar. If you're triggering a mailing, the successful request will appear in the **History** section of your connected campaign.
***
## Step 6: Turn On Zap!
If tests are successful, it's time to turn on your Zap! If you want to let the trigger run naturally under the Test environment for a day or two, feel free to leave your Test Account from Step 4 selected. If you feel ready to go live, head back to **Choose Account** and select the one connected to your **Production** key before turning on your Zap!
***
## Helpers
Add branching logic to Zaps
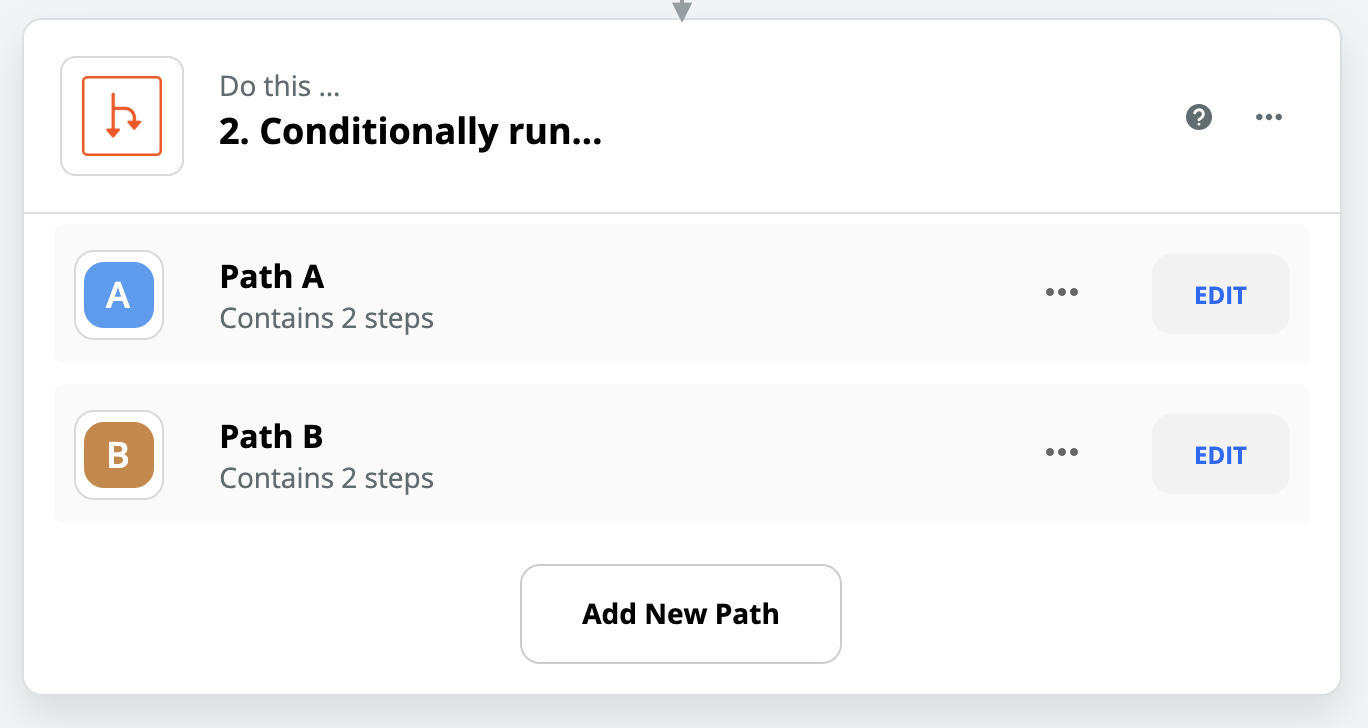
### Paths
Paths help you build advanced workflows to run different actions based on varying conditions. With each path, you set rules to decide which actions should occur when those rules are met.
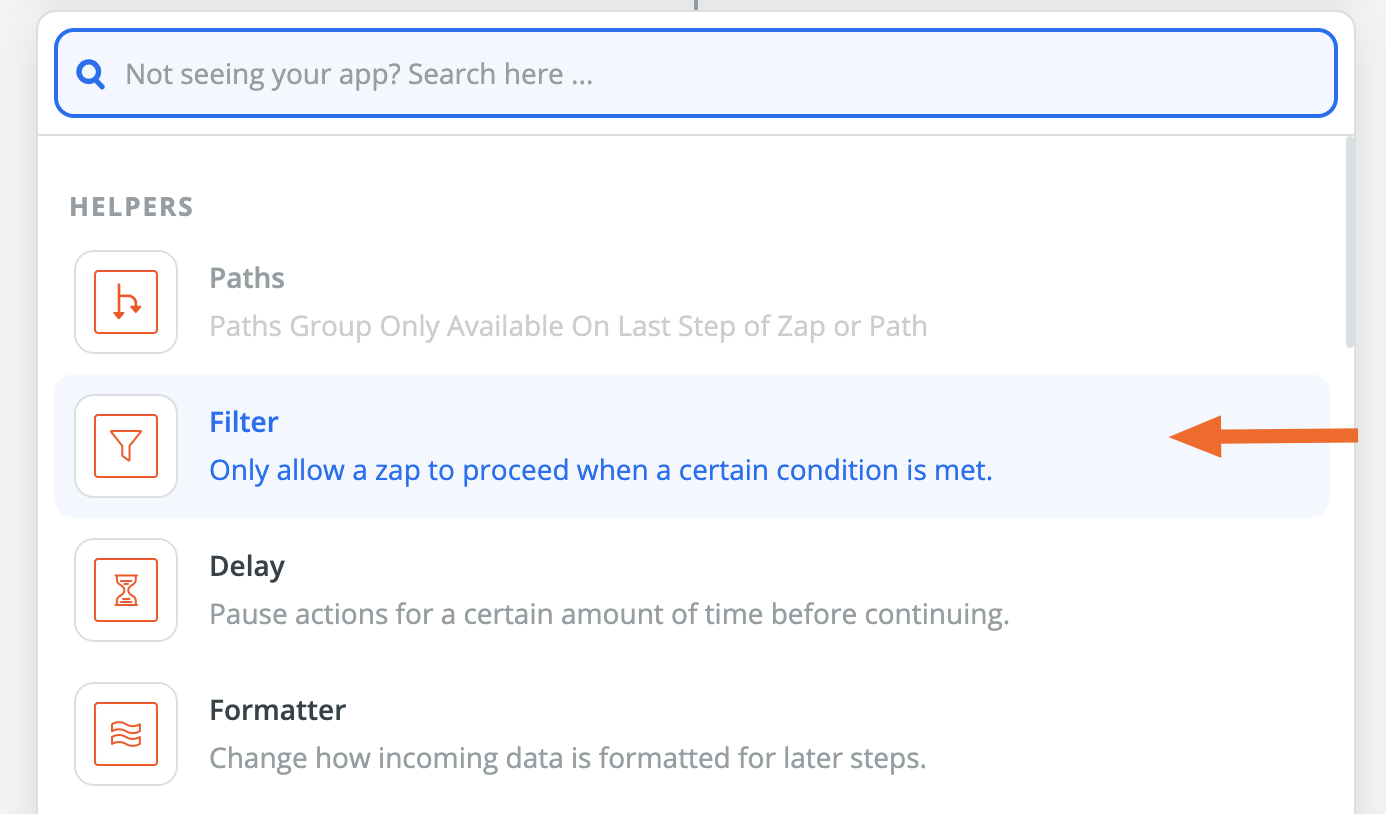
### Filters
Filters can be added to any Zap to restrict it to run only when certain conditions are met. Filters are an optional part of setting up a Zap, but they're a great way to make sure Zaps only continue for certain items.
You can add a filter at any point after the trigger, and can even have multiple filters in a single Zap
### **Delays**
Delays allow you to put your Zap on hold for a specified amount of time before your actions are run. You can use delays to set up scheduled mailings, send automatic follow-ups, and automate other tasks in your workflow.
### Formatter
Formatter is Zapier’s built-in utility tool for transforming text, numbers, and other data into the format you need. Use Formatter when you need data in a different format than the format it’s coming in from your trigger or another step.
---
# Agent Instructions
This documentation is published with GitBook. GitBook is the documentation platform designed so that both humans and AI agents can read, navigate, and reason over technical content effectively. Learn more at gitbook.com.
## Querying This Documentation
If you need additional information that is not directly available in this page, you can query the documentation dynamically by asking a question.
Perform an HTTP GET request on the current page URL with the `ask` query parameter, and the optional `goal` query parameter:
```
GET https://docs.heypoplar.com/integrations/supported-platforms/zapier.md?ask=&goal=
```
`ask` is the immediate question: it should be specific, self-contained, and written in natural language.
`goal` is optional and describes the broader end goal you are ultimately trying to accomplish on behalf of the user. GitBook uses it to tailor the answer towards what is most useful for that goal.
The response will contain a direct answer to the question and relevant excerpts and sources from the documentation.
Use this mechanism when the answer is not explicitly present in the current page, you need clarification or additional context, or you want to retrieve related documentation sections.