Emarsys

Poplar's Emarsys integration allows you to create a webhook set up in your automations.
- 1
-
Enable Emarsys on Poplar
Navigate to the Integrations > Emarsys page on your Poplar account and click Enable Emarsys. This will generate your secret key and webhook URL.
- 2
-
Create the Emarsys Webhook Node
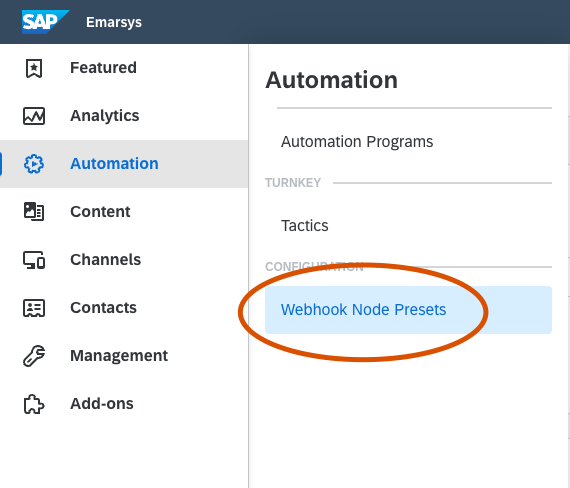
1. Open your Emarsys console and navigate to Automation > Webhook Node Presets
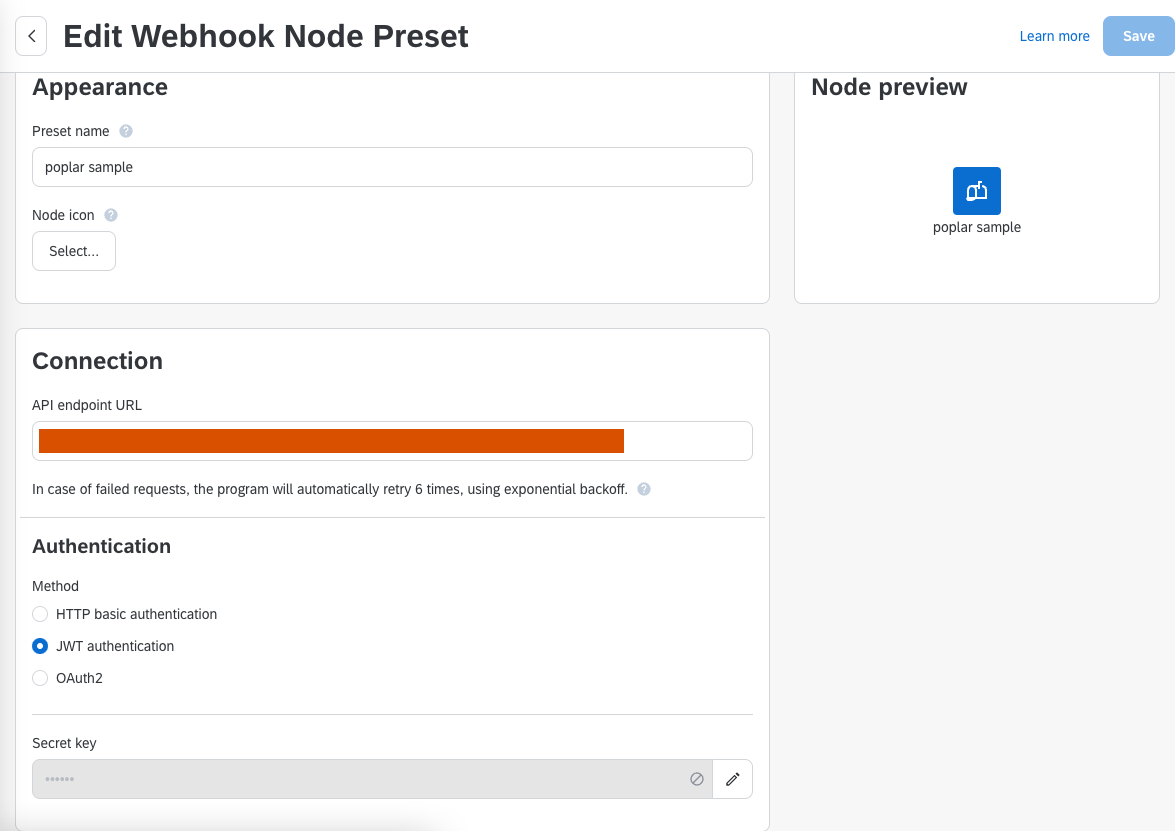
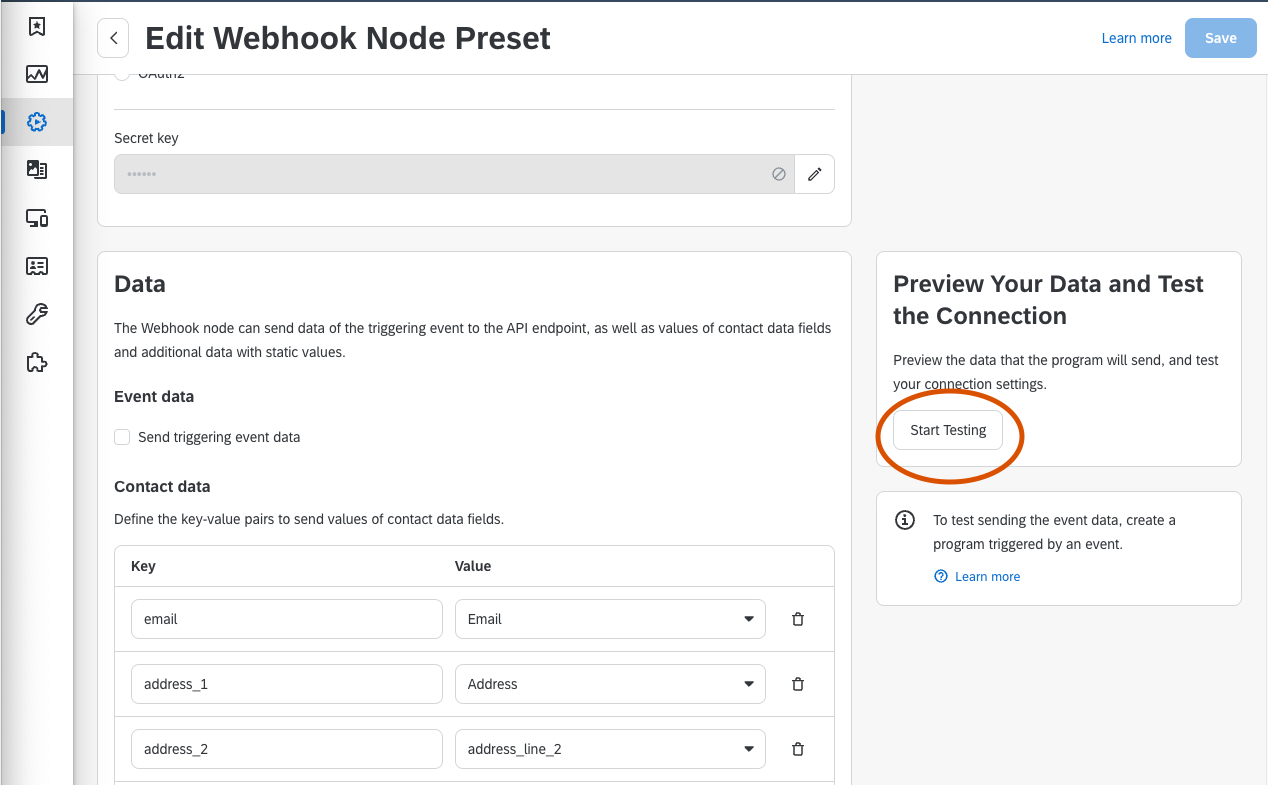
2. Name your node preset on Emarsys and select “JWT Authentication” for the Authentication choice. Enter the API endpoint URL and Secret Key from Poplar.
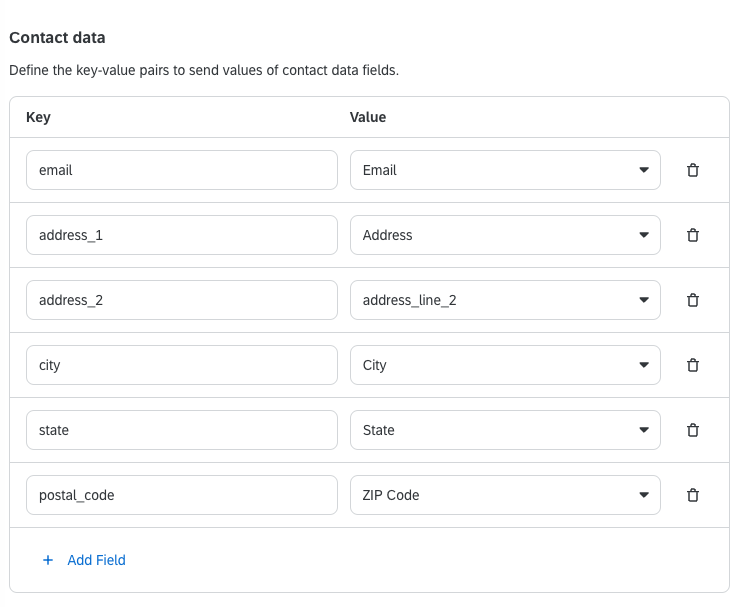
3. Add a key-value pair for each of these Poplar data fields. Map the appropriate Emarsys contact data field using the drop downs on the right.
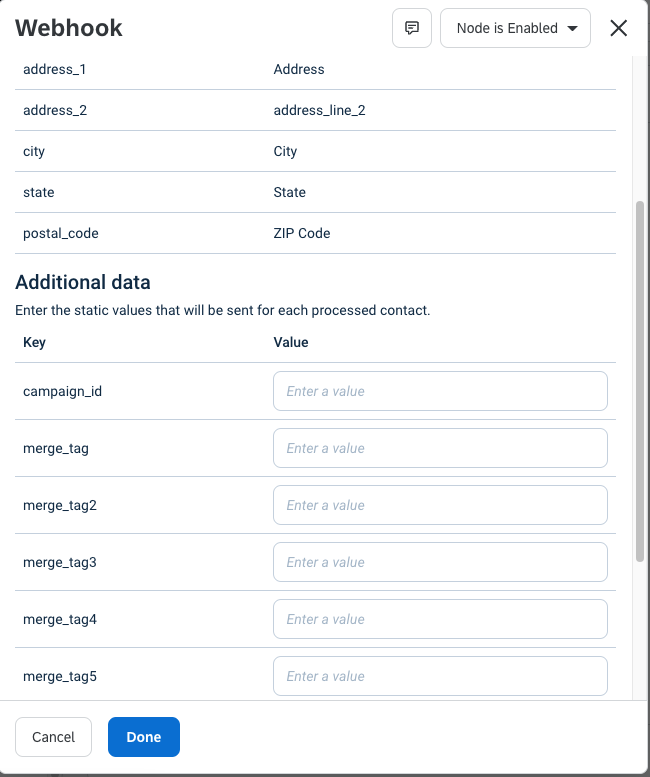
4. Add Additional Data fields for campaign_id and merge_tags.
5. Test the connection with the Start Testing button, then save.
- 3
-
Use the Poplar Webhook Node
1. In Emarsys, open any Automation program that you’d like to add a Poplar campaign.
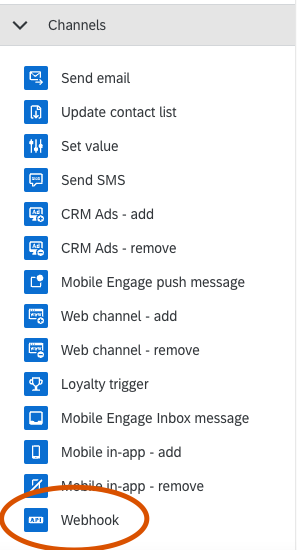
2. In the Nodes window, find the webhook node in the Channels category and place it in your automation.
3. Double-click on the Webhook node you just placed. Select your new Poplar node from the dropdown.
4. Scroll down in this window and add the campaign_id you’d like to send, along with any required merge_tags.
5. That’s it! We recommend testing your automation with before activating it for your customers.
Reach out to support@heypoplar.com for additional assistance