ActiveCampaign
Connecting ActiveCampaign via Zapier

1. Log into your Zapier account and from your dashboard, click MAKE A ZAP to begin the new trigger setup.
2. You'll then select ActiveCampaign as the Trigger.
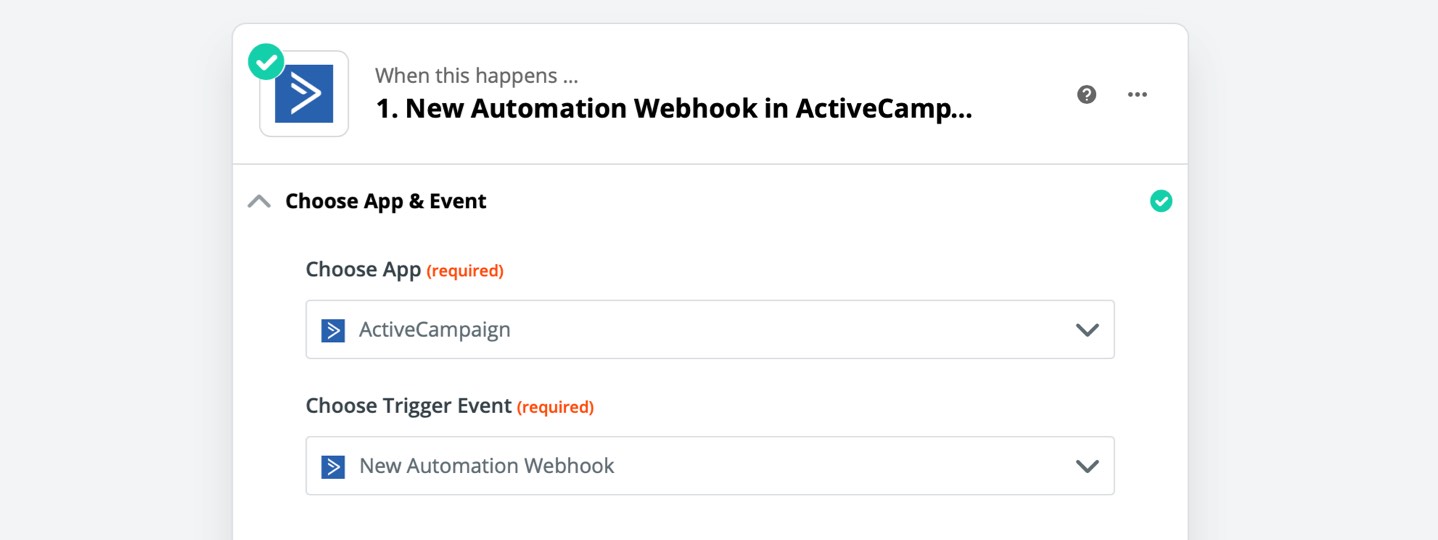
3. Then you'll connect your account, when it opens the new window head to ActiveCampaign to the settings -> developer to copy/paste both the URL and Key into the Zapier window.
4. Add a webhook to your automation.

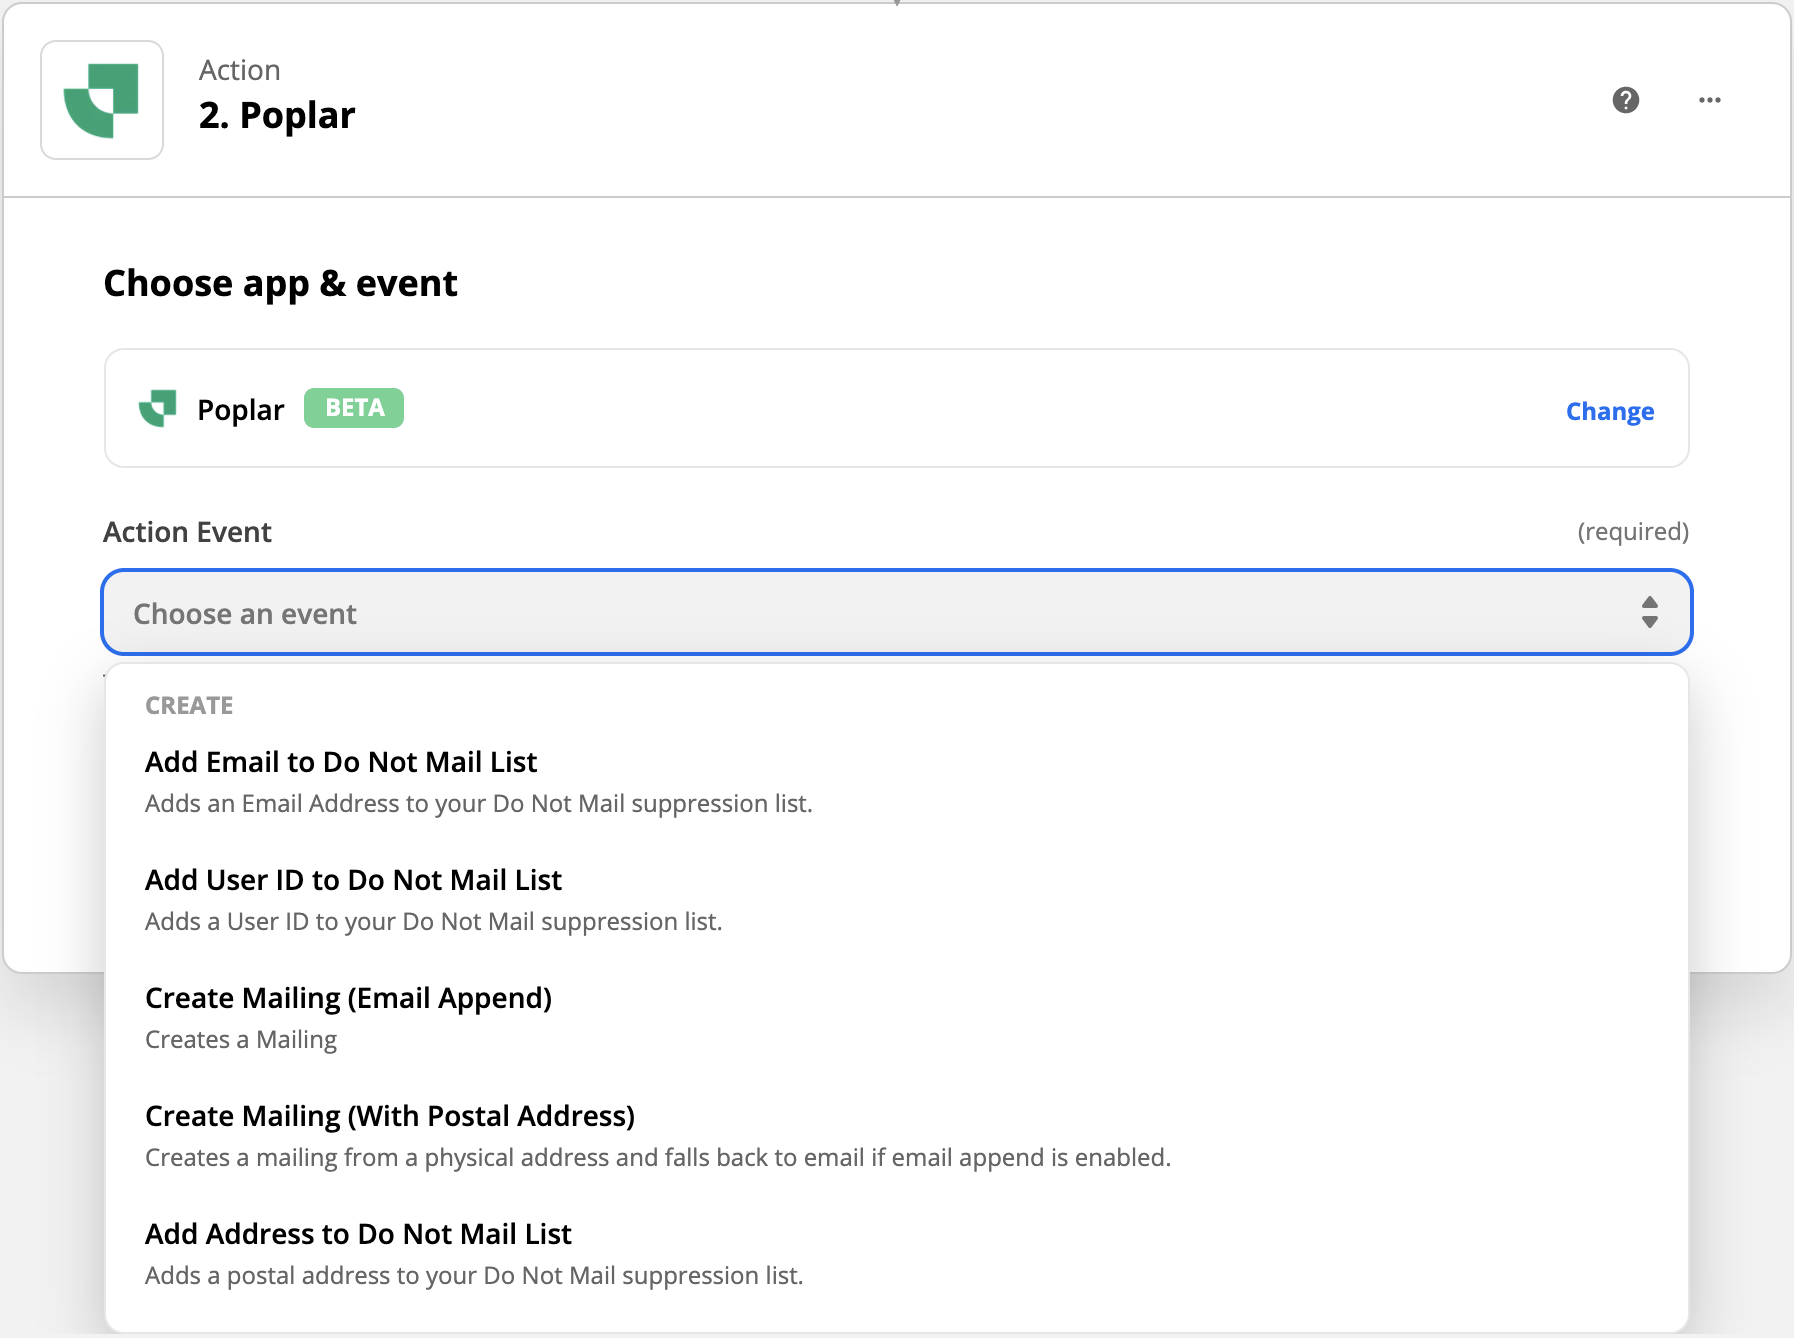
5. Search for and select the Poplar (BETA) App to use as your action; the destination where you'll be sending your data.
6. If you only have access to email data in ActiveCampaign you'll want to select the Email Append option, but you can alternatively create additional zaps and use the other Action Events for things like updating your do not mail list, or mailing to customers you have existing address data for.
7. To connect your account, you'll be prompted to enter an Access Token which can be found on the API page of your Poplar account.
We recommend first entering your Test key, this will allow you to test the trigger connection without actually mailing. Successful trigger requests will be visible from the History tab of the connected campaign.
Click + Connect a new account again to enter your Production key. We recommend only selecting this account when you're ready to go live.
If using your Production account token, clicking the Test Trigger will trigger a live mailer that will be sent.
8. Select the campaign (or head to Poplar to create a campaign and upload creative if you haven't yet).
9. (optional) Select your creative (or leave this blank if you want to run a multivariate test of any creatives enabled in the campaign).
10. Select the 4 line + button on the right and then Select the ActiveCampaign field that contains the sample data email, this will allow us to pass the recipient email to Poplar. (see below)

Alternatively, if you are supplying your own address data you will select the field containing sample recipient info:

11. Send a test and then hop back over to Poplar to the history tab of the campaign and you can check the digital proof we created.
12. If tests are successful, it's time to turn on your Zap! If you want to let the trigger run naturally under the Test environment for a day or two, feel free to leave your Test Account selected. If you feel ready to go live, head back to Choose Account and select the one connected to your Production key before turning on your Zap!
Need help? Reach out to support@heypoplar.com for assistance.