ReCharge
Connecting ReCharge via Zapier

1. Log into your Zapier account and from your dashboard, click MAKE A ZAP to begin the new trigger setup.
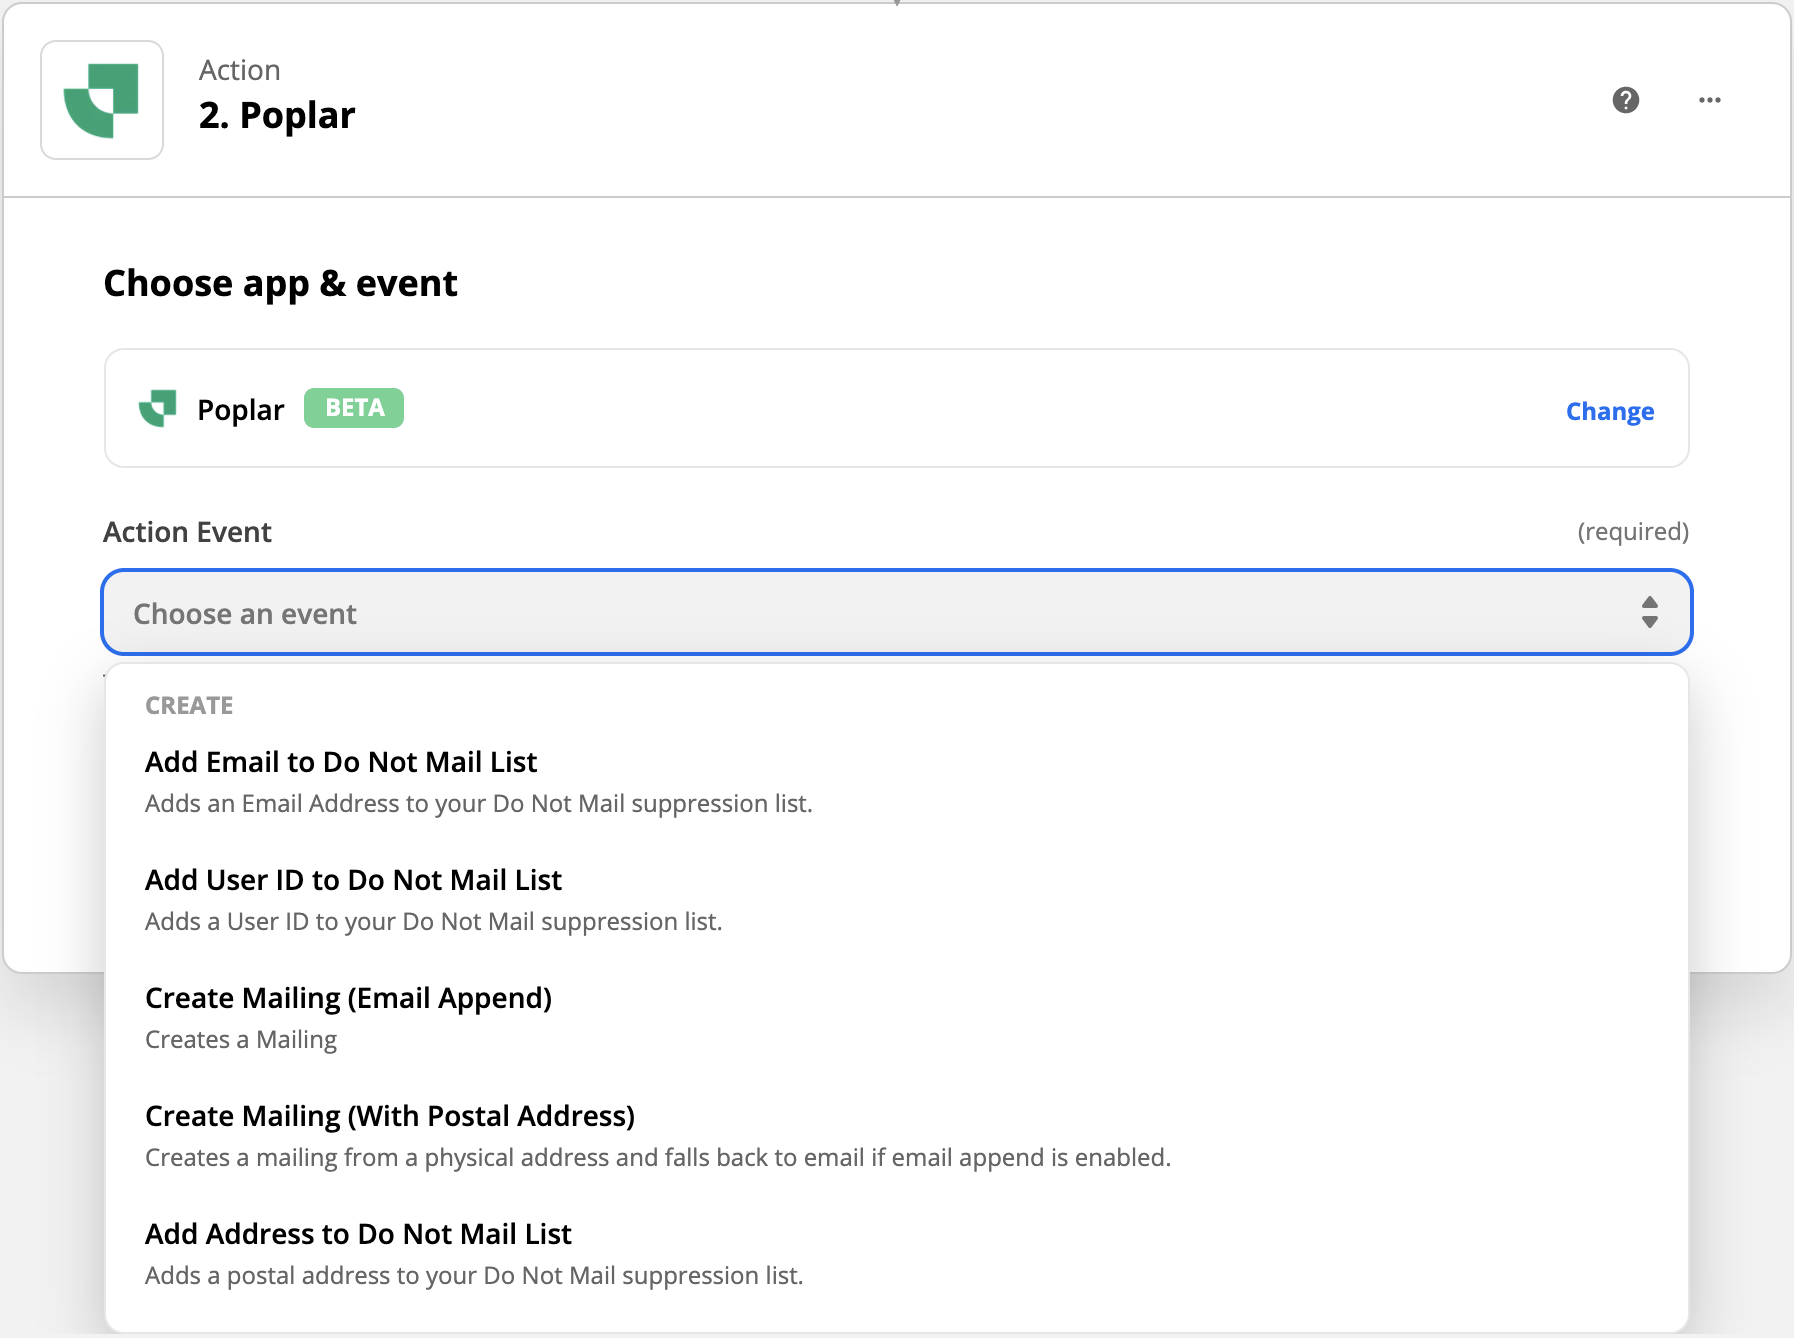
2. You'll then choose ReCharge as your App, and select the appropriate event for your trigger.


We recommend first entering your Test key, this will allow you to test the trigger connection without actually mailing. Successful trigger requests will be visible from the History tab of the connected campaign.
Click + Connect a new account again to enter your Production key. We recommend only selecting this account when you're ready to go live.
If using your Production account, clicking Test Trigger during will trigger a live mailer.
8. Select the campaign (or head to Poplar and create a campaign if you have not yet created one).
9. (optional) Select your creative (or leave this blank if you want to run a multivariate test of any creatives enabled in the campaign.
10. Choose ReCharge data to populate the data fields being sent to Poplar.

11. Test & Review and then head to your campaign's History tab within Poplar to check the digital proof created by the test.
12. If tests are successful, it's time to turn on your Zap! If you want to let the trigger run naturally under the Test environment for a day or two, feel free to leave your Test Account selected. If you feel ready to go live, head back to Choose Account and select the one connected to your Production key before turning on your Zap!
Need help? Reach out to support@heypoplar.com for assistance.