Customer.io
Last updated

Last updated
Before integrating and sending tests with Customer.io, make sure you've completed the following:
Create a campaign in Poplar
Upload creative (can be a placeholder creative for testing purposes - )
Locate both your Production Access Token and Test Access Token on the page of your Poplar Account
For the webhook request to hit our API and be accepted, there must be an active campaign with creative uploaded - otherwise a 400 error will be sent back.
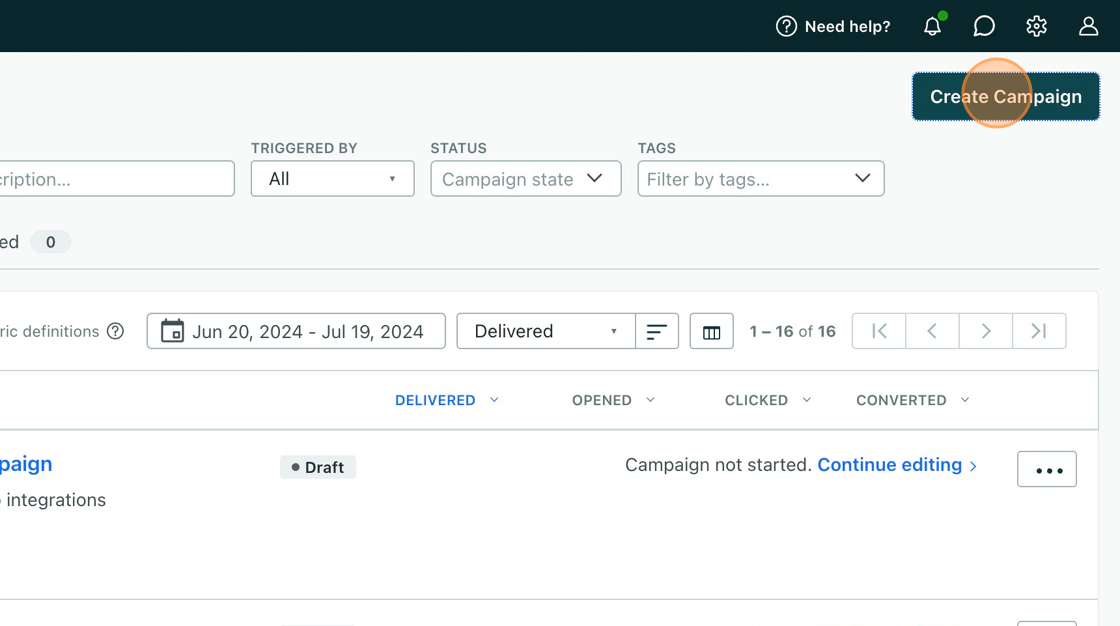
Log in to Customer.io and click the Campaign tab on the left. If creating a new campaign, give your campaign a name, then click Create Campaign.
On the Trigger Step, select the criteria for a customer to enter the campaign flow, then when ready click Next.
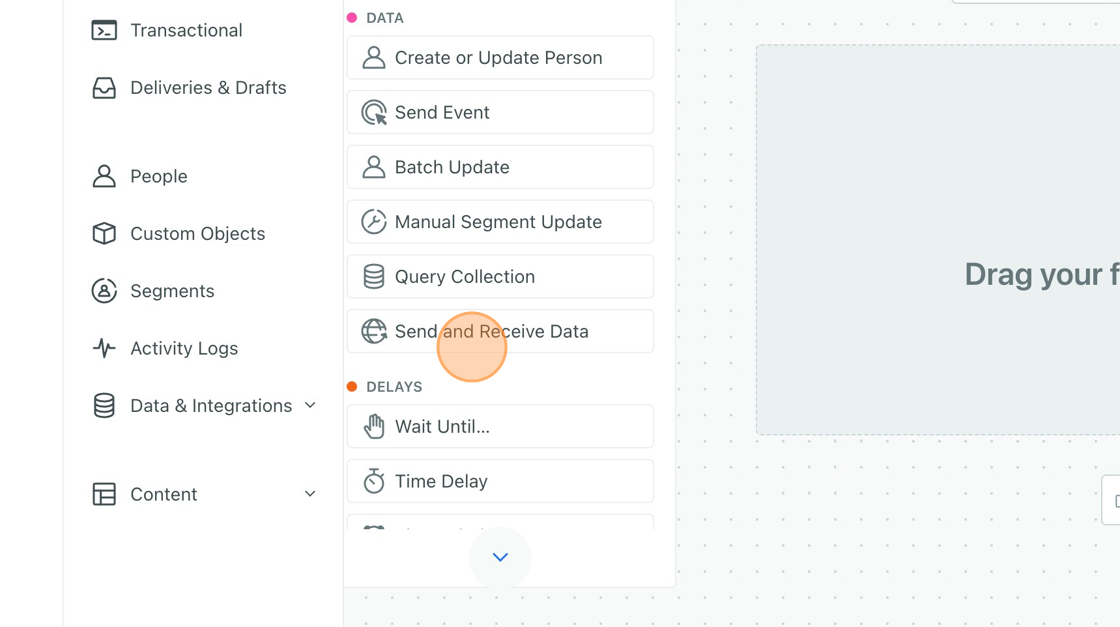
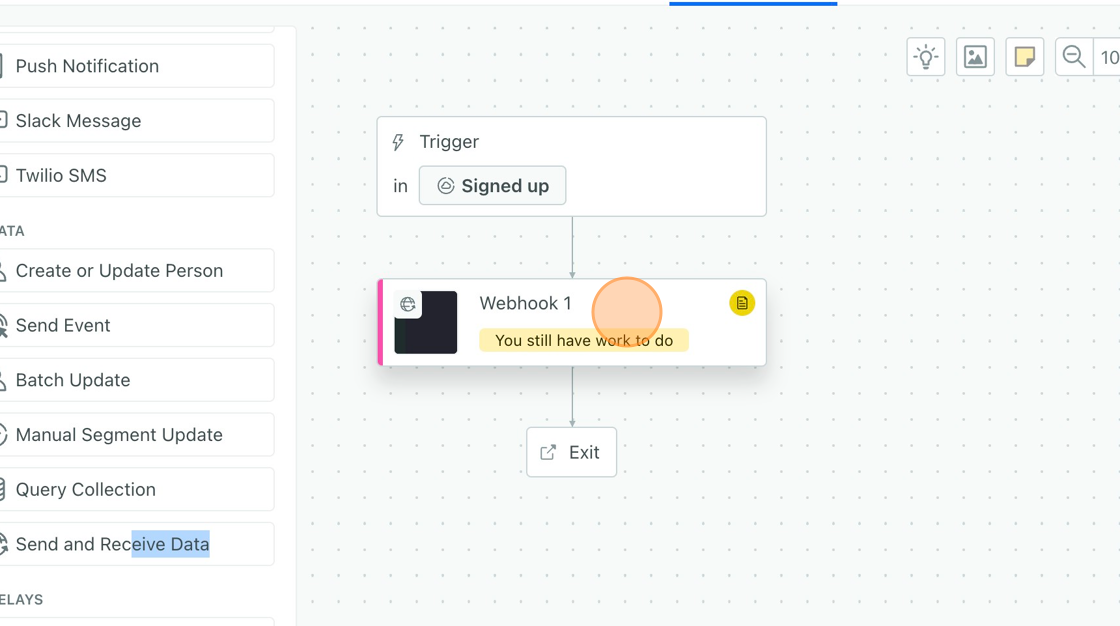
On the Workflow Step, drag and drop the Send and Receive Data action into the flow where you'd like to send your Poplar Mailer.
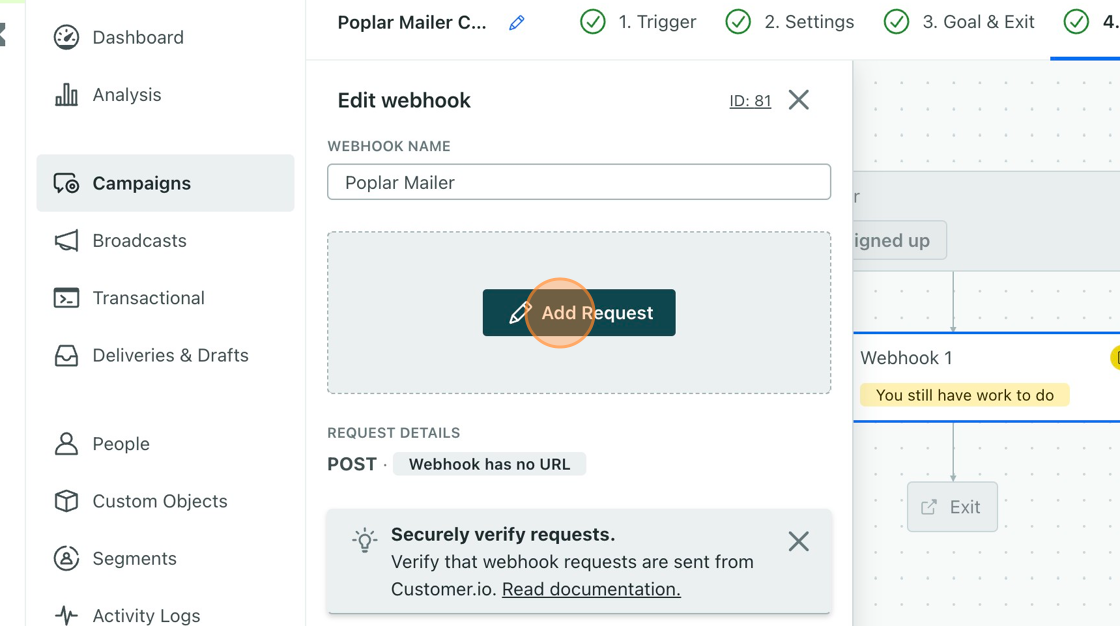
Click the webhook, name it, and select the Add Request.
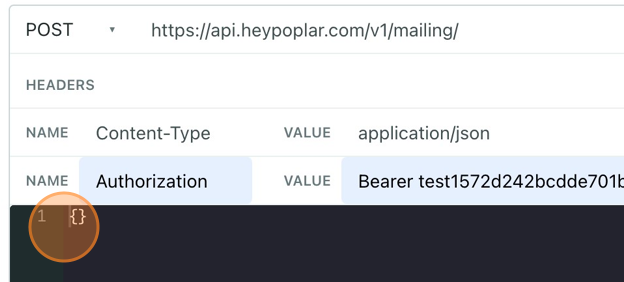
Set the URL to: https://api.heypoplar.com/v1/mailing/
Add an HTTP Header and configure an Authorization key and set the Bearer <Your API Key> (make sure to also delete the <>)
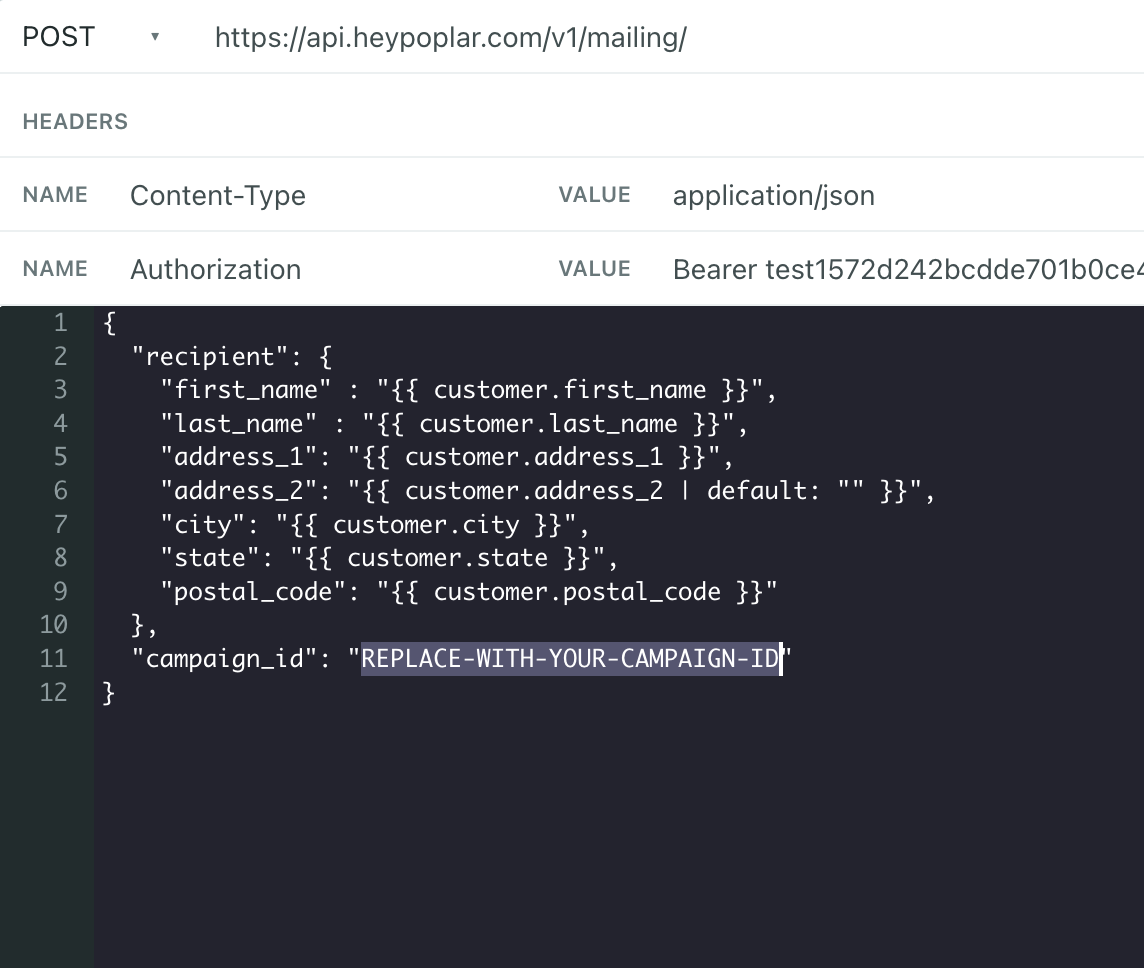
Configure the webhook contents.
If you're doing address enrichment you just need to pass the email in the recipient block, the campaign_id, and any other variable data (Merge Tags). If mailing existing customer addresses, you'll pass in the full address. Note the double brackets surrounding the variable data being passed.
For an email append: the customer attribute names you have in your account may differ and need to be modified.
For a full address mailing:
Key
Value
campaign_id
copy from the right side of the campaign page on Poplar
full_name
Optional, you can also replace with a fixed string like 'Current Resident' for use on the address block
first_name
When using first & last name instead of full name in your webhook, you must use BOTH or it will error out.
last_name
address_1
address_2
city
state
postal_code
You can also add merge tags with your own variable data at the end. When using first & last name options instead of full name you need to include both or it will error.
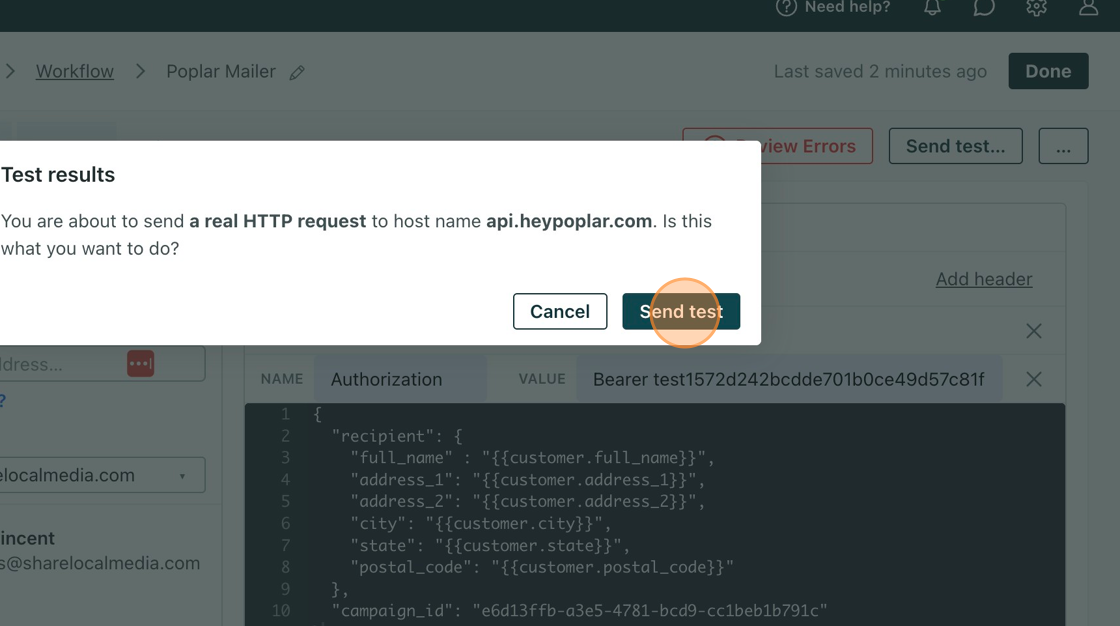
Test your webhook by sending a test, then checking the history tab of the campaign in poplar to see if it appeared.
Exceptions/Troubleshooting
You may see an exception when you don't have a name or address_2 or other metadata you are referencing on every recipient record. It's easy to solve this using an if statement in the webhook.
{% if customer.address_2 != blank %}
{{ customer.address_2 }}
{% else %}
{% endif %}
Reach out to support@heypoplar.com for additional assistance
Log into Poplar and setup a new test API Key for Customer.io. You can get the key at . Copy the test API token and head back to the webhook configuration in customer.io