
Segment
Use Segment to trigger a mailing, share order data, or add an audience member to a list in Poplar with custom Destination Functions. There are two primary ways to send a destination function to Poplar within Segment:
Connections
Start by navigating to the Connections tab within your Segment account:
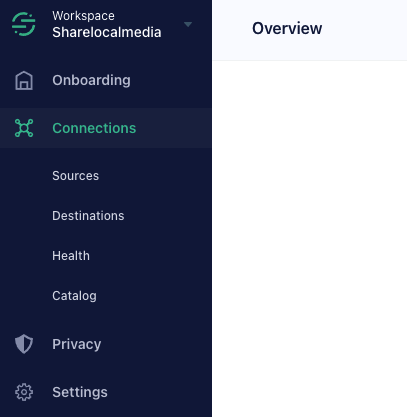
On the left you'll see a list of your data Sources and the option to + Add Source, and on the right you'll see a list of your Destinations and the option to + Add Destination.
If it's not already listed, add the Source from where you'll be pulling mailing data and make sure it's Enabled for use.
Destination
Once your Source is established, click Add Destination to view the Destination options under the Catalog section. To integrate with Poplar, you'll need to build a custom function that triggers a mailing when an event occurs.
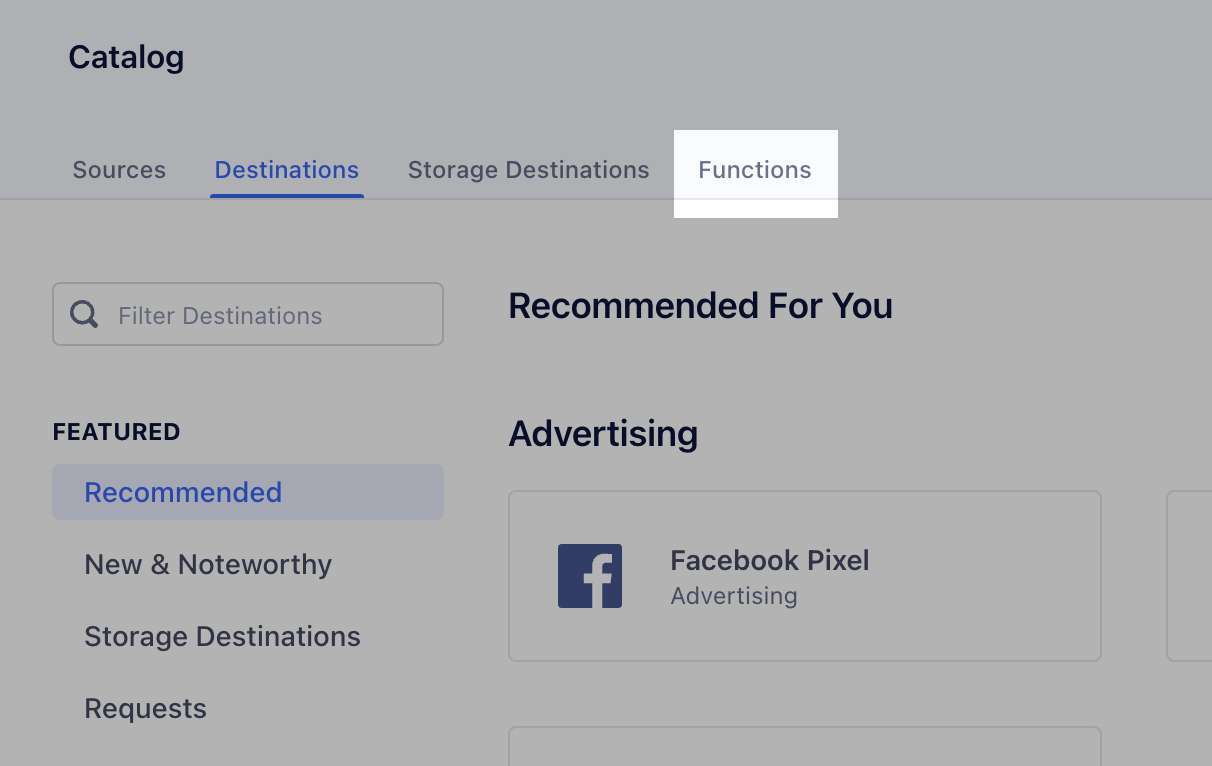
Navigate to the Functions tab and click + New Function to begin:
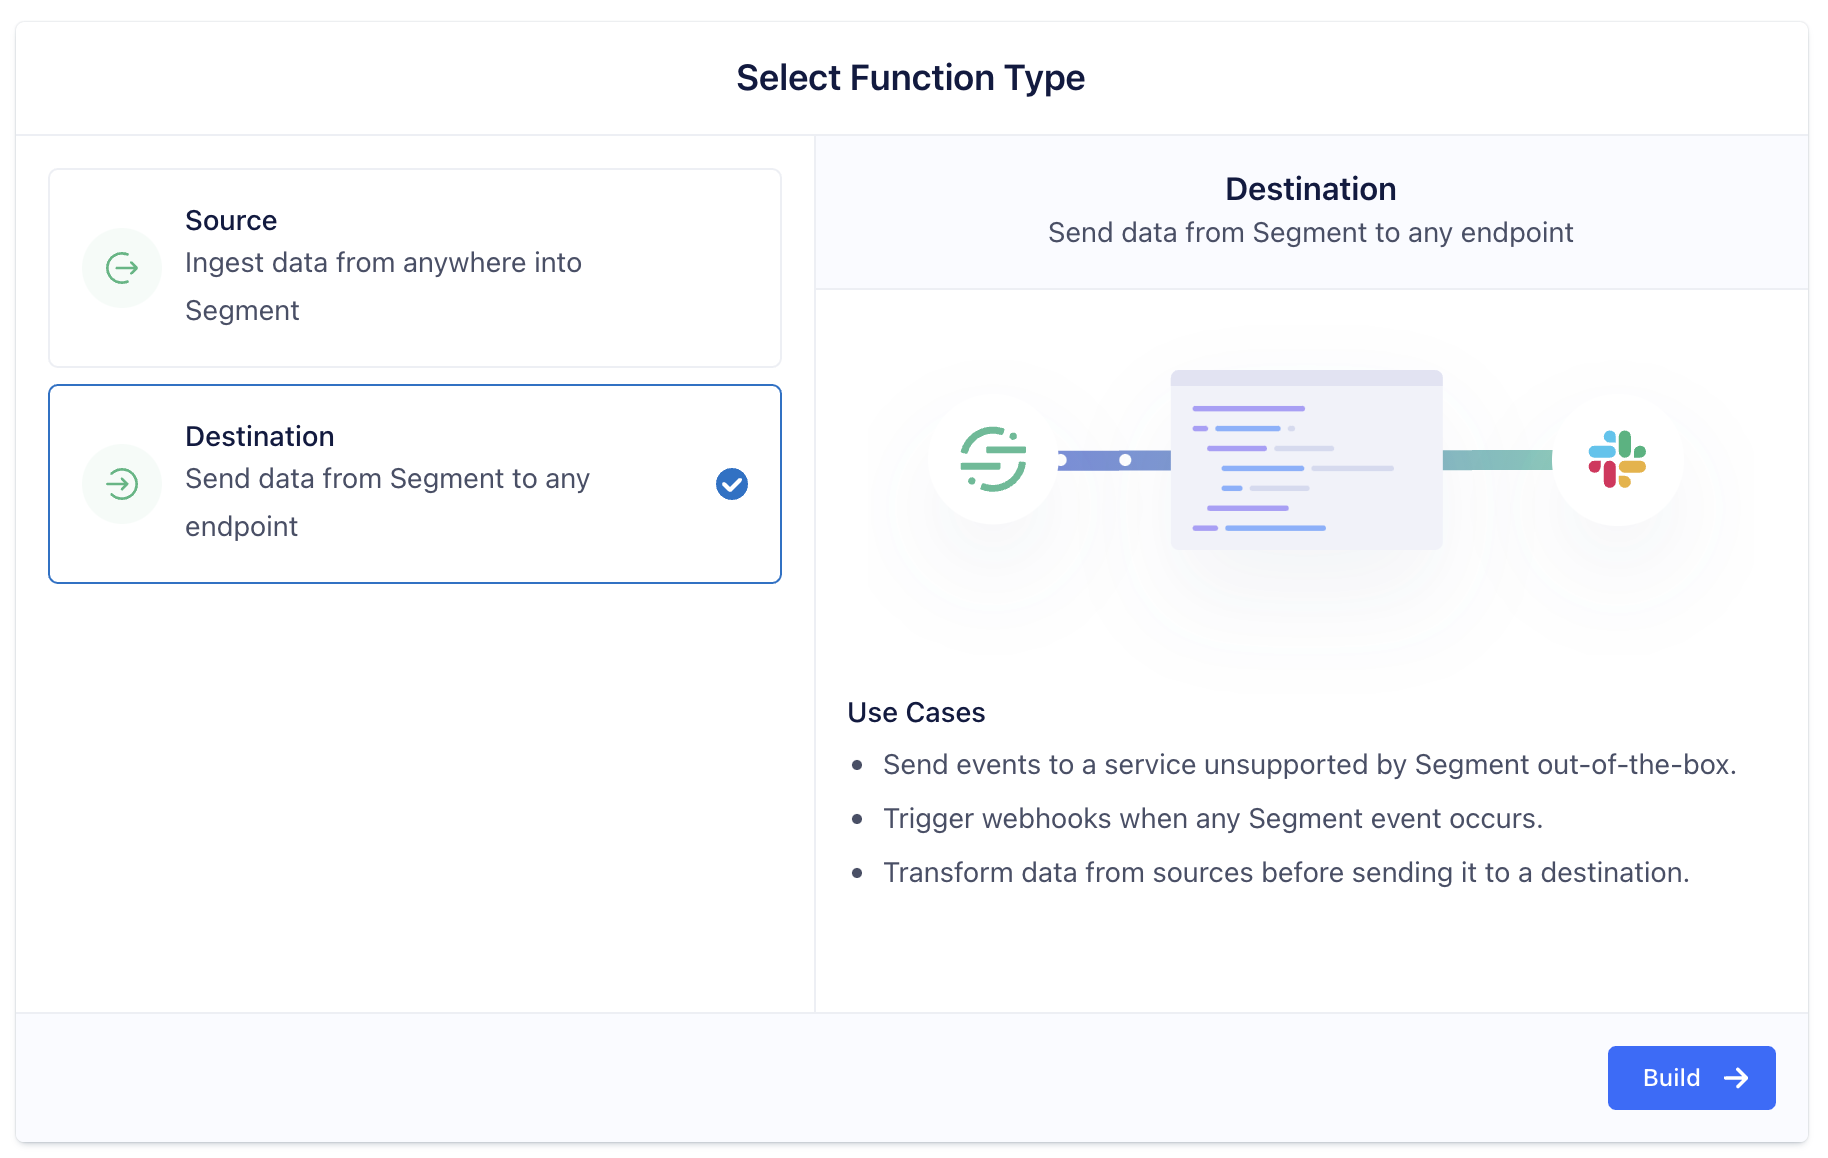
Select Destination as the Function Type, then Build:
Build
Before editing code, you'll need to configure the behavior of your function by adding Settings. Settings are used for encrypting your Authorization credentials ( API Access Tokens) and they allow you to pass variables such as campaign_id, creative_id, and audience_id to your function.
There are a number of ways Segment can integrate with Poplar's APIs:
Trigger a mailing
Share order data for in-platform reporting
Update an existing audience list
Update your Do Not Mail list
Settings
Head to the Settings tab and click + Add Setting. Each use case listed above requires different Setting which should be defined in the following ways:
Mailing
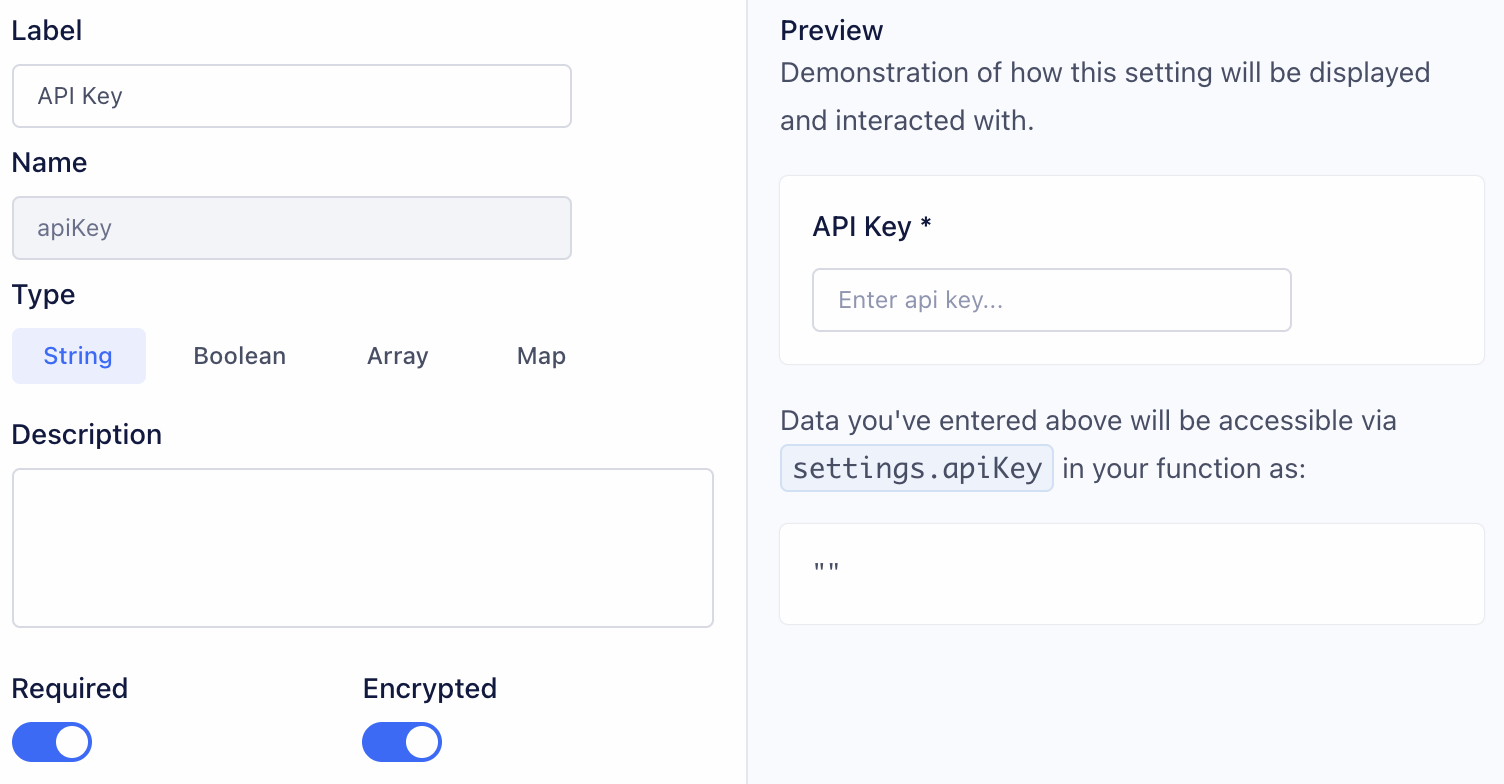
Authorization
First you'll want to configure the variable for your Test or Production Access Token.
Make sure both Required and Encrypted are enabled, the encryption setting will ensure your access token stays secret.
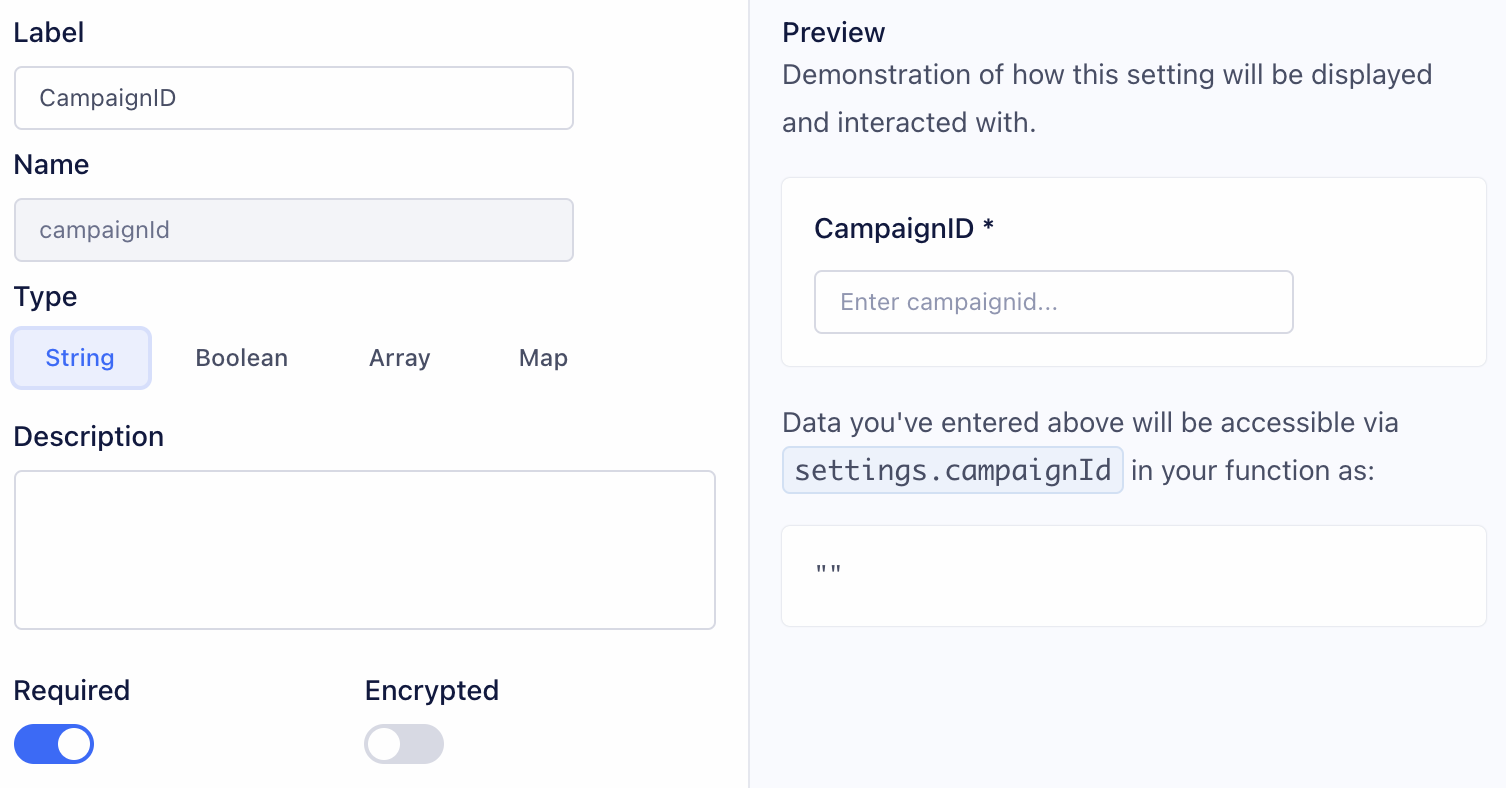
Campaign ID
Create another Setting for your campaign_id. Campaign ID can be found in your Poplar account under your campaign's Overview tab. This value does not need to be Encrypted.
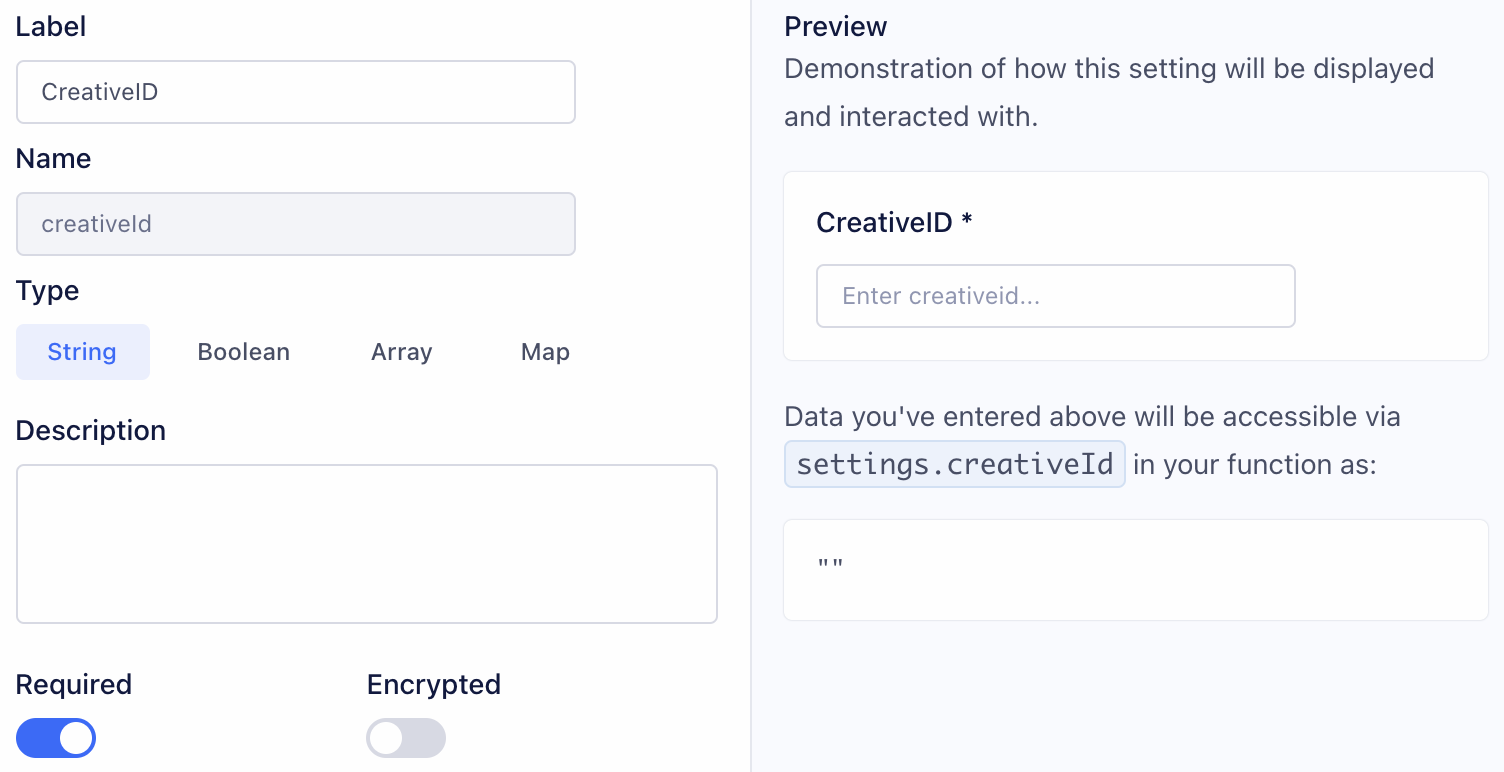
Creative ID (Optional)
Creative ID can be specified if more than one creative is active under the campaign, and you want to specifically point to one. Click into a creative to find the creative_id.
If creative_id is not specified, the trigger will point to the Default active creative. If no creative is set as the default, it equally rotate between mailing all active creatives under the campaign to A/B Test.
Orders
Authorization
First you'll want to configure the variable for your ProductionAccess Token. Make sure both Required and Encrypted are enabled, the encryption setting will ensure your access token stays secret.
Audiences
Authorization
First you'll want to configure the variable for your ProductionAccess Token. Make sure both Required and Encrypted are enabled, the encryption setting will ensure your access token stays secret.
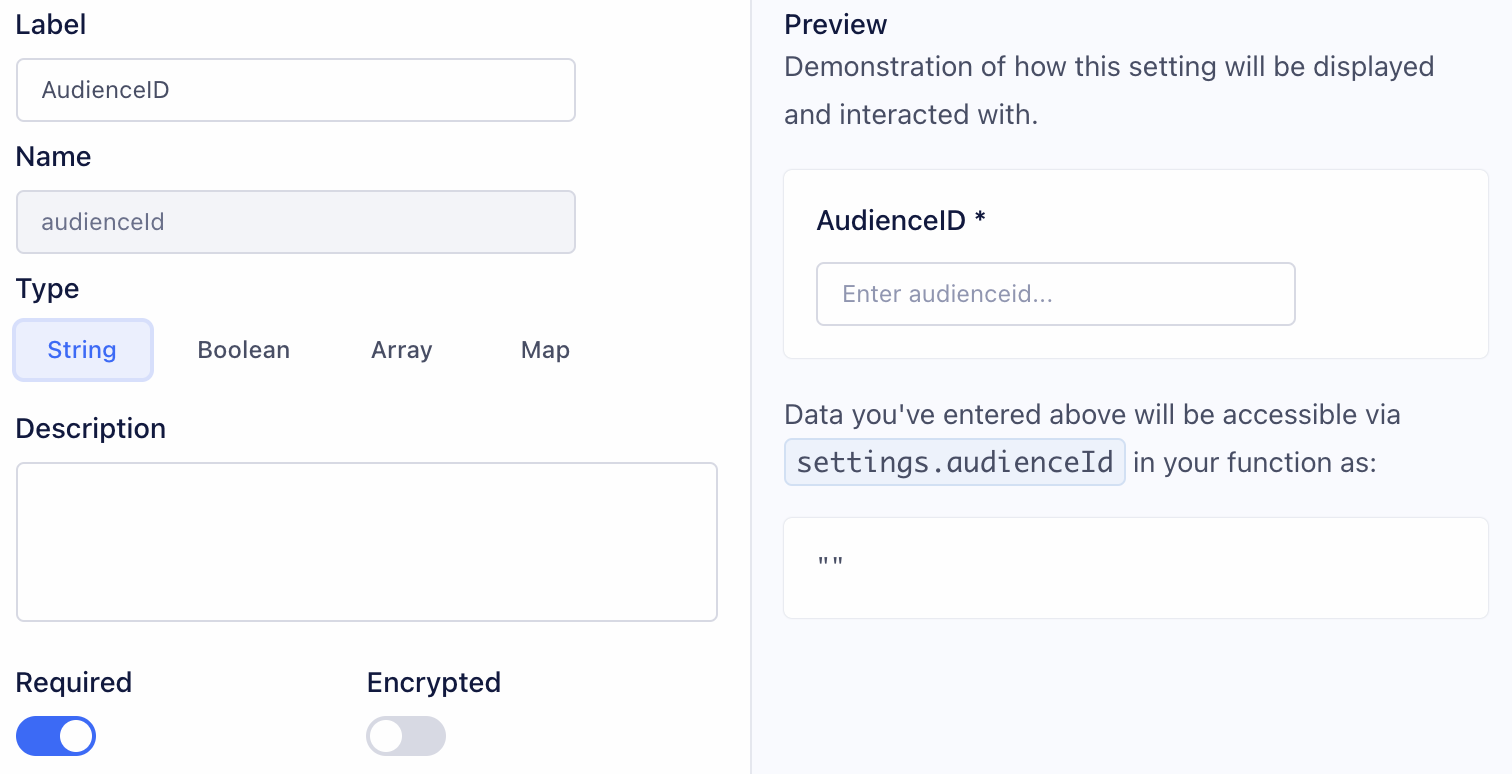
Audience ID
To add an audience member to a list, the audience must first be created in Poplar. Click into an existing Audience to find the audience_id.
Do Not Mail
Authorization
First you'll want to configure the variable for your ProductionAccess Token. Make sure both Required and Encrypted are enabled, the encryption setting will ensure your access token stays secret.
Source Code
Now that you've established Settings, you can begin coding your function. Segment invokes a separate part of the function (called a “handler”) for each event type. Destination functions can define handlers for each message type in the Segment spec:
onIdentifyonTrackonPageonScreenonGrouponAliasonDeleteonBatch
Each of the functions above accepts two arguments:
event - Segment event object, where fields and values depend on the event type. For example, in “Identify” events, Segment formats the object to match the Identify spec.
settings - List of settings for this function.
Just like Settings, different source code is required based on use case. Below are code templates that can be copy & pasted in place of any existing source code:
Our examples show a destination function that listens for “Track” events, and sends certain data to Poplar by using the event.properties prefix. This prefix will likely differ by case depending on how your data is structured.
Mailing
To create a mailing, you'll want to send a POST request to https://api.heypoplar.com/v1/mailing
Your headers should contain Authorization: `Bearer ${settings.apiKey}`, and 'Content-Type': 'application/json'
Address and/or Email Data
This function can be used for both full address data or emails for Address Enrichment.
Custom Merge Tags
If your creative uses custom merge tags, be sure to include the merge_tags object.
Orders
To share order data, you'll want to send a POST request to https://api.heypoplar.com/v1/order
Your headers should contain Authorization: `Bearer ${settings.apiKey}`, and 'Content-Type': 'application/json'
shipping_address and/or billing_address may be used when passing order data. For more details on required and optional values, see our Orders API.
Audiences
To add an audience member to a list, you'll want to send a POST request to https://api.heypoplar.com/v1/audiences/${settings.audienceID}
Your headers should contain Authorization: `Bearer ${settings.apiKey}`, and 'Content-Type': 'application/json'
For more details on required & optional values, see our Audiences API.
Do Not Mail
To add a member to your Do Not Mail list, you'll want to send a POST request to https://api.heypoplar.com/v1/do-not-mail
Your headers should contain Authorization: `Bearer ${settings.apiKey}`, and 'Content-Type': 'application/json'
Run
To run your function, you'll need to select a sample event from your Source. Make sure the sample event contains all the necessary data for mailing.
Need help? Contact support@heypoplar.com for assistance.
Last updated